Pages

~ Is Chalk Paint Worth The Price? And A Few More Tips

Rabu, 31 Agustus 2011


So as you wander around looking at the fabulous makeovers, you are thinking that you might give this ol' chalk paint stuff a whirl. Then you see the price, especially if you have to pay shipping! It's high enough if you can find a local source, but by the time you add shipping it is really expensive.

** Please note if you are not familiar with these paints, it is NOT "chalkboard" paint that you buy at the craft store.
Here are some of your questions from the last post:

Why did you start using chalk?

At first I was looking for milk paint. It has been many years since I used it, but remember the dull, chalky old look of it. But instead, I wound up finding Annie Sloan Chalk paint. And the hype was pretty darn good. I doubted it was that much different than regular flat latex paint. And it is and isn't.
..................................

Could you have done most of your projects with a cheaper paint and still been pleased with the outcome?

Mostly yes, but there were times when regular paint would not have given the same finish.
Flat and matte finish paints will sand off or distress, but not as well as the chalk paint.
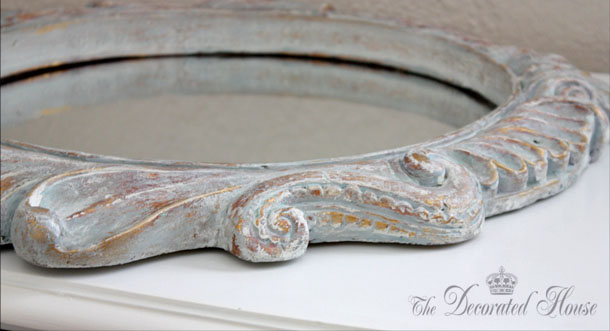

How about the blue mirror in the last post, was the chalk paint that important?

Yes. This is the first time that I found the paint and wax made a huge difference.
The mirror finish came about due to the properties of the chalk paint.
There was a play between the paints and the wax that would not have been the same while painting, nor looked the same with afterwards by using paints and a paste wax.
.........................
Is the wax a lot less work than paste wax?

Not to me. But others have said it did not take a lot of buffing for them.
To me, I had to put some buffing elbow grease into it anytime I've used the AS wax.
It has been a while since I used the paste wax on a large project, but I do remember it is work. And worth it, just as the AS wax is.
.................................

When you use a damp rag to wipe off the paint or excess, is the paint still wet, or do you let it dry first?

This one depends.

When doing an antique glazing, you apply the glaze, and quickly wipe off the excess. Usually a glaze is darker than your base paint color, and you need a damp cloth to get the excess off. Often quickly because the glaze pigment can stain the areas you don't want glazed or darkened. So when working with a glaze, wipe it off before it dries.

With the chalk paint, you want it to set up and be more dry if you are using the damp cloth to distress it. Don't wipe too soon, or too much will come off. Wait until it dries too much, and it is just more work, but it will still come off. A kitchen scrubby works wonders if it gets dry before you get back to it. But again, the scrubby and the cloth will give you slightly different looks.
................................

Where do you get this gosh darn expensive stuff?

Because they have a flat rate shipping fee by the amount you spend and the per quart price is the lowest anyone has, try Robyn Story Designs. If you live near Tampa, FL you can save the shipping. But otherwise, she is often less expensive for the shipping fee than ordering even in your own state. Shipping is often expensive and will vary site to site.
.................................


Is it worth the high price?

The paint is about $35 a quart, and often runs another $10+ shipping depending how many cans your order. It is usually cheaper to buy more than one can at a time.
There is the huge advantage of being able to paint without much prep. Just clean the item well, and start painting. No sanding or primer usually. Than in itself is the reason most people think it is worth the price after using it.
................................
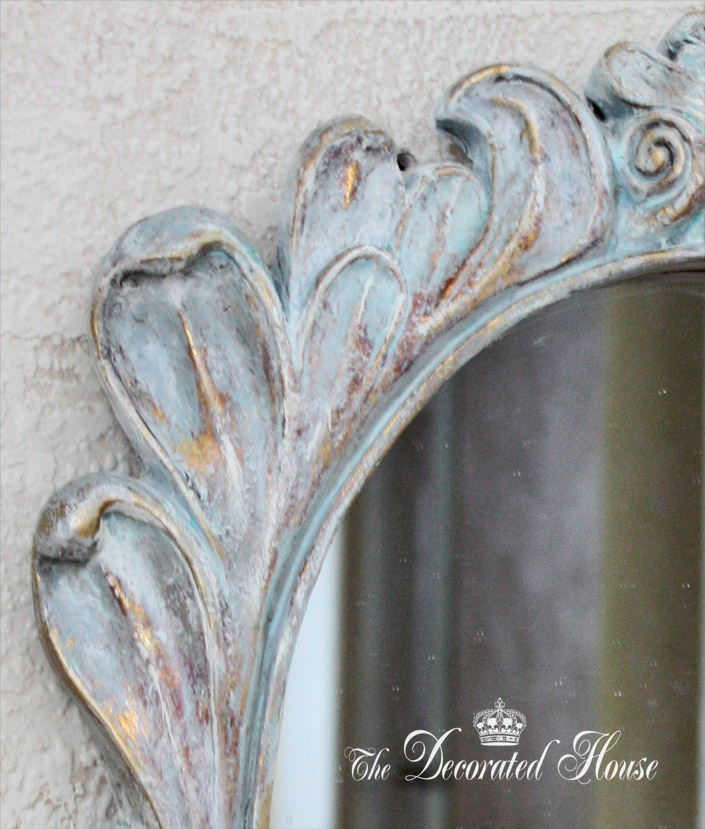
~ Annie Sloan Chalk Paint Blues - Distressed & Waxed

Jumat, 26 Agustus 2011


The Decorated House ~ Create a Beautiful Blue Distressed Antiqued Finish with Annie Sloan Chalk Paint
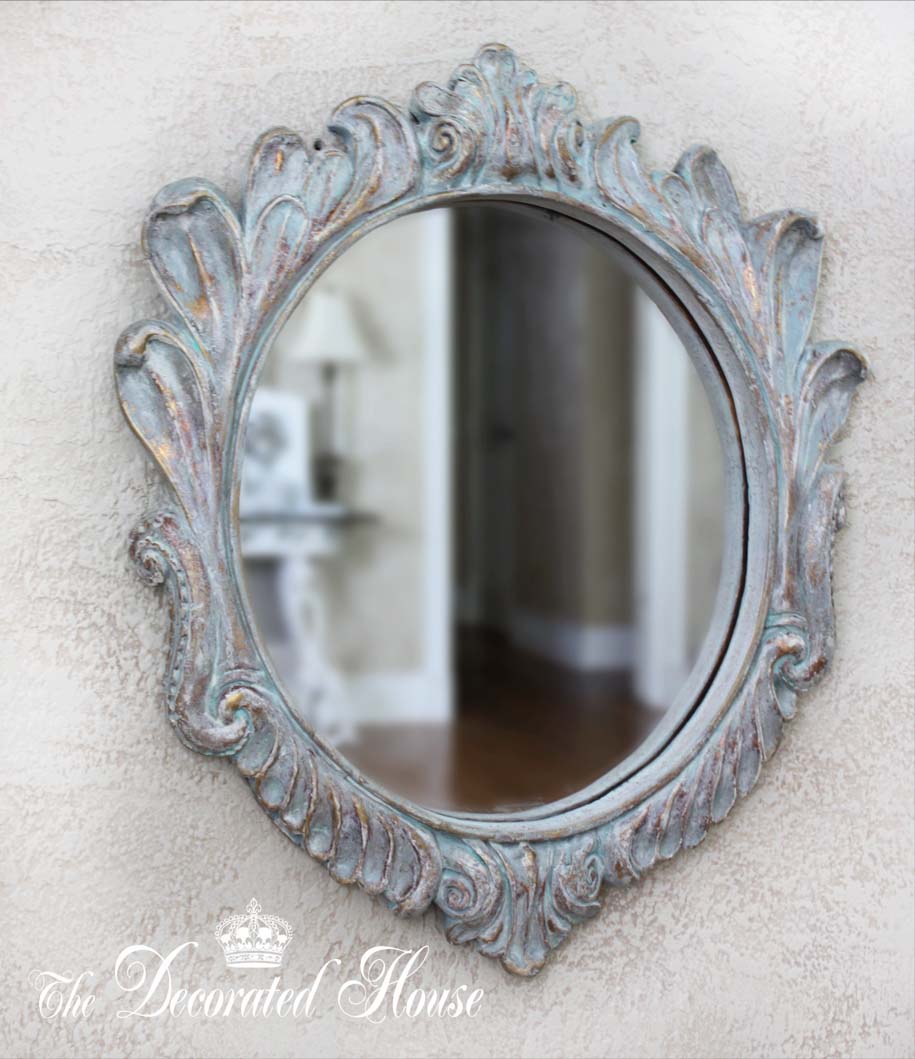
Somewhere I had read Annie Sloan talk about working with the chalk paints and waxes to get a different look. So this was an experiment. The finished look is really worth the work.

The Decorated House ~ Create a Beautiful Blue Distressed Antiqued Finish with Annie Sloan Chalk Paint
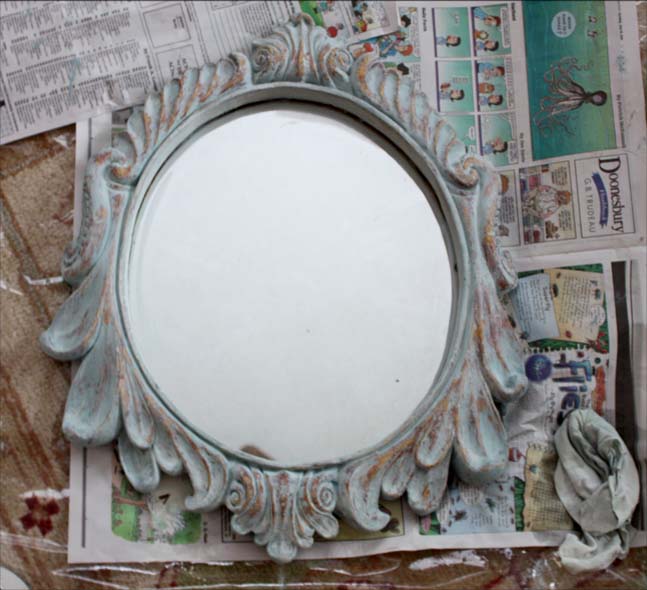
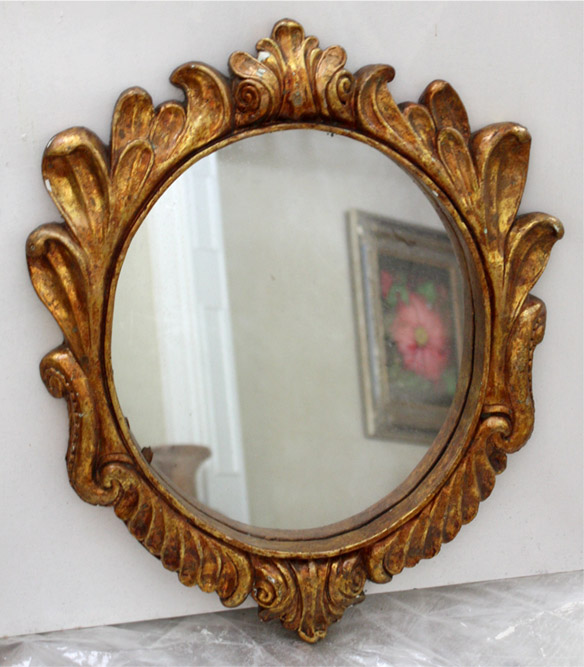
The old mirror in it original dull gold finish just didn't work, so it was the perfect candidate for playing with the paints and wax. I do like the shape of it though.

The Decorated House ~ Create a Beautiful Blue Distressed Antiqued Finish with Annie Sloan Chalk Paint
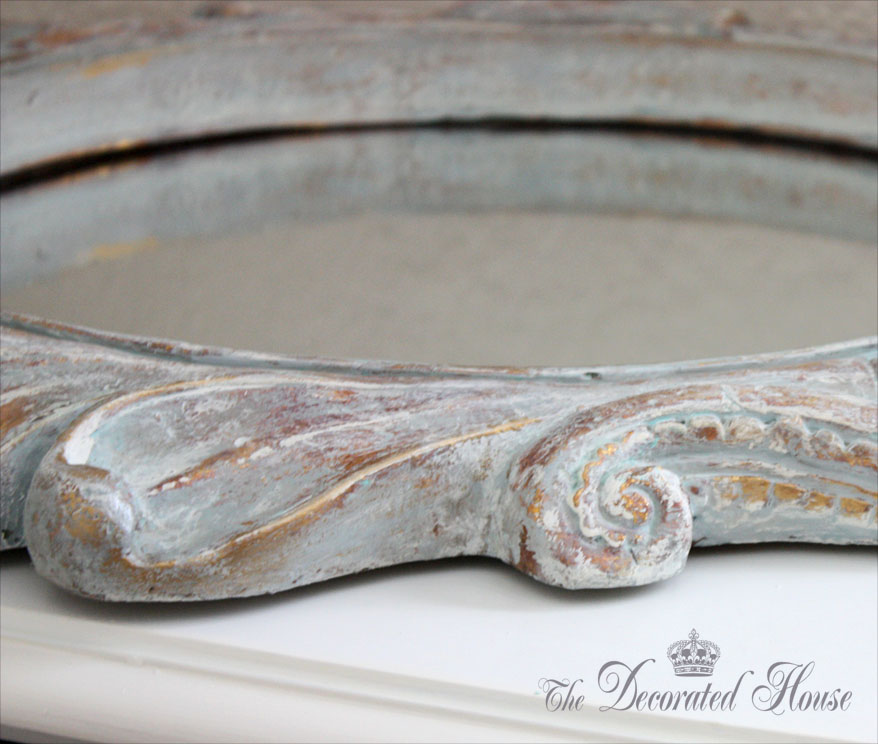
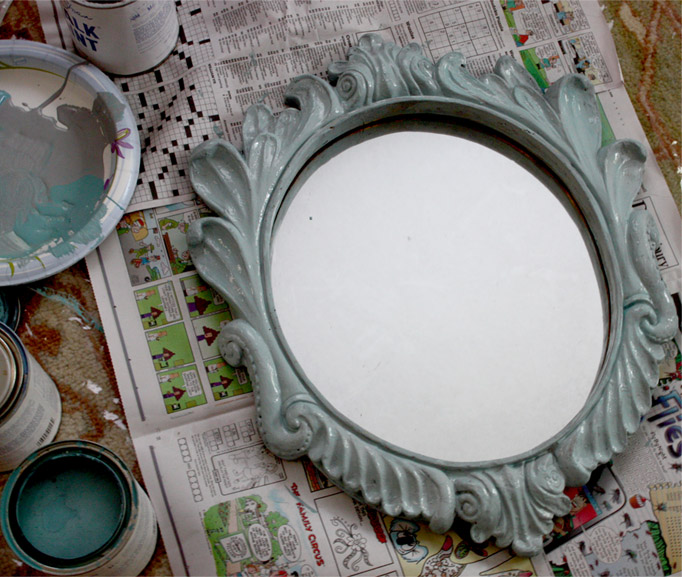
The first color was the bright Provence, and then that was mixed with  Paris Grey. Some areas of the Provence were left to show a bit more. Next white was dry brushed on.

The Decorated House ~ Create a Beautiful Blue Distressed Antiqued Finish with Annie Sloan Chalk PaintThis is what it looked like with just using a damp cotton rag to rub off some of the paint. It was a good look even at this point.

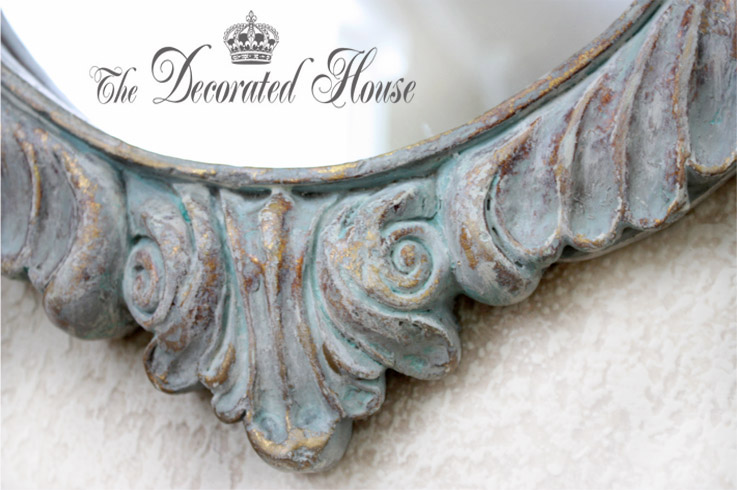
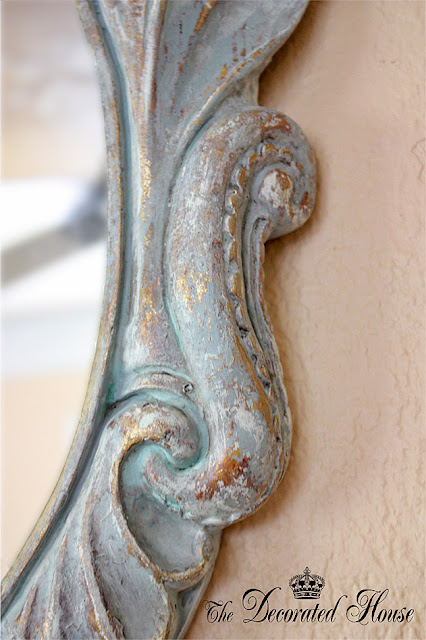
The Decorated House ~ Create a Beautiful Blue Distressed Antiqued Finish with Annie Sloan Chalk PaintNext I went back and forth with dry brushing the white paint, letting it almost dry and then waxing it until the paint began to come off, then painting again, and wiping that off in some places. Dark wax was applied next, it was buffed, some places got another dry brushing, then the clear wax was applied and buffed last. You just play with it and see how your piece looks with each step until you get what you want for yourself.

The Decorated House ~ Create a Beautiful Blue Distressed Antiqued Finish with Annie Sloan Chalk Paint
In the end, it looked like a very old, time worn finish. A really beautiful look!

**The paints used in the post are "Annie Sloan Chalk Paints" not to
be confused with chalkboard paint, but they may
have somethings in common.

See Y'All Soon~


~ Vintage Blue Bottles - White Mantel

Selasa, 09 Agustus 2011


These blue bottles were mostly found during a few different antique hunting adventures. I think I originally got them with the intention of creating some altered art bottles, and then to adding them the shop. None have left the house so far.

Most of them have some kind of embossed writing on them so you can tell what they were used for when they were new. And it can be any number of things.

Each time I have gone to make something out of them, I just wasn't in the mood to cover up one bit of the beautiful blue color. So all of them are as I found them, just a little cleaner.


I just wanted to bring a few springs of summer in the house, and was longing for the color that just happens to be in the blue bottles. So they were adorned in a very simple way.

Projects are moving right along. Someday I'll have the discipline to finish one thing before starting 10 other things. Really? I'm not betting on that though.

See Y'All Soon~
Donna

~ Ranch Style House Remodel, Before & After

Jumat, 05 Agustus 2011


This house was very lucky to have a new owner who could see
all the really good things that were possible for it.
And obviously, so very talented people who did the work!


Could anyone "save" this house?
It sure needed some love, vision and a whole lot of work.

There are several contractors in our area who specialize in renovations and remodeling. One of these sometimes tackles ranch style homes. They are often found in older established neighborhoods with magnificent trees and no stairs to climb. but short on curb appeal after a half century of living. 

At the time, this particular contractor used to do smaller jobs on homes that were probably about 1600 to 2000 sq. feet. It's a real challenge and one that was handled smashingly well here!

This is the after shot. I think there was quite a bit of space added to the backside as well as this fabulous revamp to the front. There are so many great features to love about living in a ranch style house. And I often hear people wondering if they can improve the facade. This one certainly says yes!


~ See Y'All Soon ~

~ French Chair, Chalk Paint Distressed and...

and then painted again.

In the quest of simplification, I've added a new option to the old, whatever you touch you must put it where it belongs, or give it away. The new option is if you are going to keep it, then do whatever refinishing it needs for you to keep it. Now! I have a large stash of things that I'm so sure I will redo. Now when I find something or move it around, if it is waiting for some work, I am trying to get it done. Wish me luck. :)


I still love these simple French style chairs. They have been here for many years, and have been utilized in different rooms. One is actually at Sweet Daughter's house right now. No memory of doing so, but I must have taken it over there.

I was intending to give you a nice little tutorial for achieving the look. Although I did it the mostly the same way I have for years, there are a few things including the choice of paints that were influenced by others. You can see a really good tutorial at Miss Mustard Seed's blog in her sidebar to give you a similar, or better finish. Look in her sidebar for the blue chair tutorial.

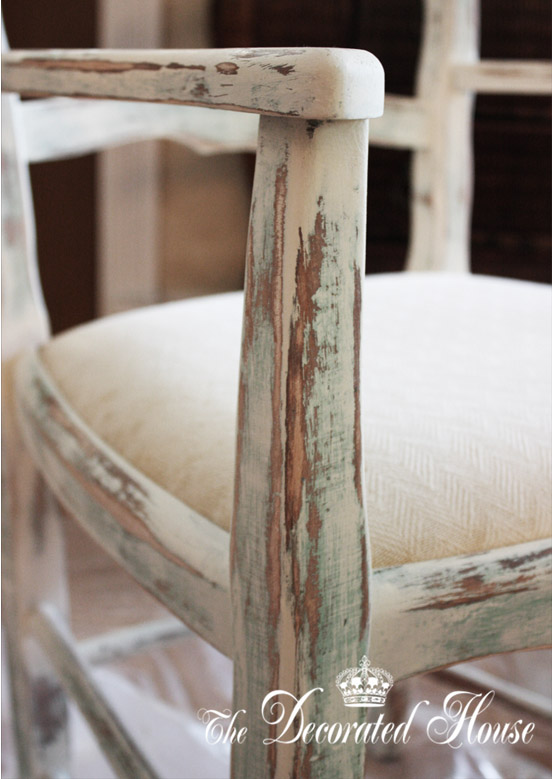
My chair went through this:
  1. Painted very blue, Provence chalk paint with Turquoise added.
  2. Painted dry brush to medium dry brush with ASCP Paris Grey mixed Provence.
  3. Rubbed with a damp cloth.
  4. Dry brushed with Old White chalk paint and some light waxing.
  5. Sanded to distress
(The pictures show it without a final waxing, with the dark or clear that you would probably choose for longer wear.)

When that was all done....
it was too much shabby for me.
Now it is painted with Old White.
Yes, after all that work, I painted over it.

It's only paint!


See Y'all Soon~

 ................................................................................
Click on any of the pictures below to shop  art from The Decorated House